How to Remove the Matcha Filter on TikTok
A practical Matcha Filter remover tutorial for TikTok and CapCut drafts, exported videos, and the limits of AI reconstruction.
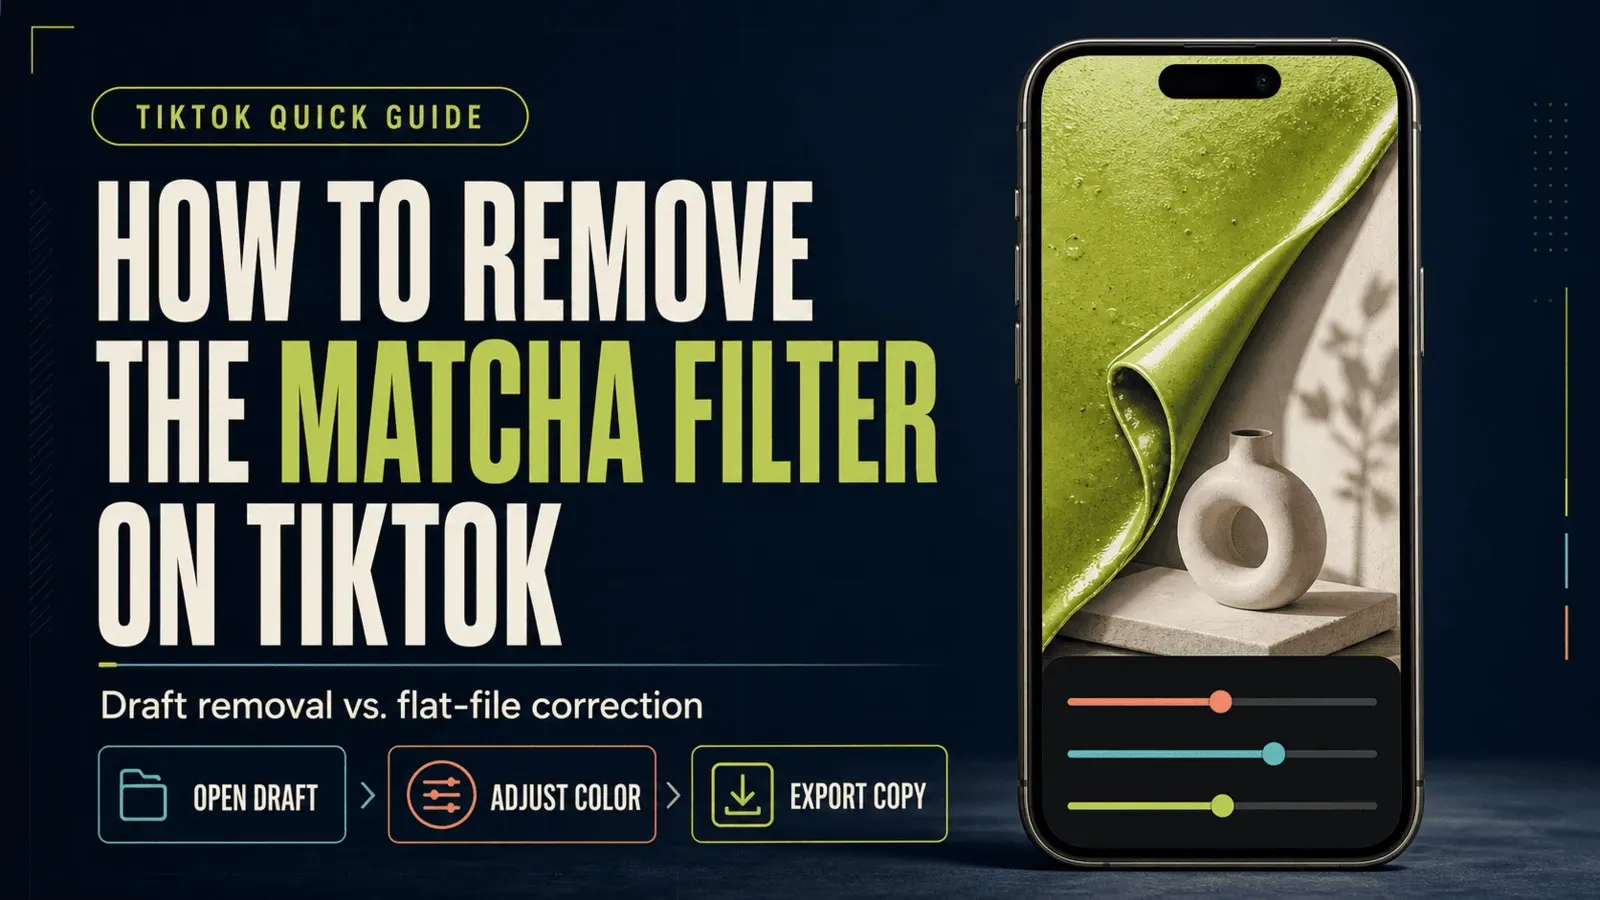
If you want to remove the Matcha Filter, start with the file you still control. The steps are different for an editable draft and a flattened download:
- TikTok or CapCut draft: remove the filter or effect layer, then export again. This is the only way to get the original pixels back.
- Draft with the effect already rendered: use color and tone adjustments to make it less green and easier to read. This is correction, not a true undo.
- Downloaded or posted file: no editor can reliably recover detail that the effect replaced or warped. You can only improve the surviving image or ask an AI tool to generate an interpretation.
First, identify which file you have
Open the media and look for an editable filter, effect, or adjustment layer.
- If the effect has a name and an intensity slider, it is probably still editable.
- If the timeline contains only one transformed clip, the effect has likely been rendered into the clip.
- A downloaded TikTok post is already flattened and compressed, even if it looks like the original upload.
Make a duplicate before changing anything. Keep the original draft or file untouched so you can compare results.
Remove a normal filter from a TikTok draft
This branch applies when TikTok still shows the filter as a selectable layer.
- Open Profile, open the draft, and tap Edit.
- In the editing screen, find the Filters control in the upper editing toolbar. Some versions also show a Filters-related control in the bottom tool row; that bottom control may belong to a different editing feature.
- Open the currently selected filter and choose Normal, None, or the unselected option shown by your version of TikTok.
- Scrub through the entire timeline. If another clip has its own filter, remove it too.
- Tap the checkmark to apply the change, then export or save a new copy.
The exact label and location can vary by app version, account region, and template. The important test is whether the green look disappears before export. If it remains after selecting Normal or None, it is probably an effect or an already-rendered clip rather than a normal color filter.
Reduce the Matcha look inside a TikTok draft
Some Matcha posts do not expose a removable filter layer. A current TikTok editing tutorial shows the practical fallback: scroll the bottom tool row, open Adjust, and work in Customize.
- Open the draft and enter the editing screen.
- Swipe the bottom tool row sideways until Adjust is visible, then tap it.
- Choose Customize rather than relying on a one-tap preset.
- Select Color correction first. Pull the green cast toward neutral in small steps.
- Lower Contrast if the effect has crushed shadows or harsh outlines.
- Reduce Saturation and, if needed, Brilliance. Watch skin, sky, and white objects while you move each slider.
- Use Sharpen last and lightly. Too much sharpening makes the contour artifacts more obvious.
- Review several points in the timeline, tap the checkmark, and export a new copy.
There is no universal set of slider values. The source clip, effect strength, and TikTok version all change the result. If a setting helps one frame but creates halos or trails in another, back it off.
Remove the effect from a CapCut project
If the original CapCut project is yours, the same principle applies: edit the layer, not the exported result.
- Duplicate the project.
- Select the affected clip and inspect Filters, Adjust, Effects, and any overlay or template track.
- Delete the Matcha-related layer or set its intensity to zero. If the effect is attached to only part of the clip, check the keyframes as well.
- Check every clip in the timeline. Templates can apply the look more than once.
- Export a fresh copy at the highest quality that your project allows.
If you imported only the transformed video into CapCut, there is no hidden original layer to reveal. Use the exported-file steps below instead.
What to do with an exported photo or video
For a flattened file, work on a duplicate and treat the result as a visual cleanup:
- Correct white balance or tint. Reduce green gradually; a strong magenta correction usually means you went too far.
- Lower excessive saturation and contrast before touching sharpness.
- Use light noise reduction only when compression grain is distracting. Heavy denoising removes hair, text, and small edges.
- Adjust highlights and shadows so clipped areas are not made harsher.
- Add a small amount of local contrast or sharpening last.
- For video, check different timestamps. A single adjustment may produce flicker or color jumps across frames.
- Export to a new file and keep the flattened source as a reference.
These steps can make a green image more legible. They cannot reconstruct a face, object, text, or background that the effect painted over.
Can an AI Matcha Filter remover restore the original?
Usually, no. An AI remover can generate a new image that has plausible skin, fabric, lighting, and texture. That is AI reconstruction, not recovery of the camera original.
The distinction matters whenever identity or evidence is involved. A realistic-looking face can still be wrong. A model may guess clothing, text, or a background detail that was never present. Do not use an AI output to identify, accuse, embarrass, or expose another person.
If you try an online tool, check whether it uploads the full file, how long it retains uploads, and whether export requires payment. Use only media you own or have permission to edit. Never upload intimate content or someone else’s private media just to test a viral remover.
Why exact recovery is impossible from a flat file
An exported frame stores the final pixels, not the edit history. A liquid-style effect can move, merge, and overwrite pixels. Compression then removes additional detail. Different original images can produce a very similar filtered frame, so the flattened file does not contain enough information to select the one true original.
That is why the decision is simple:
- Editable source still exists: remove the layer and export again.
- Only a flattened file exists: correct what remains, and label any AI result as a generated interpretation.
Frequently asked questions
Can I remove the filter after posting?
Not from the public, flattened post. Return to your own draft or original project and export a clean version. Re-downloading the post does not restore the source.
Why does selecting Normal not work?
The green look may be an effect, adjustment, template, or rendered clip rather than the normal Filters layer. Inspect the other tracks and try Adjust. If the effect is baked into one clip, only correction or reconstruction remains.
Can a normal color filter be reversed?
It can sometimes be approximated when it changed only color and contrast. Export compression, clipped highlights, masks, and geometry warps prevent exact reversal.
Can I remove it from someone else’s video?
Only edit media you own or have explicit permission to use. Removing a visual effect does not grant permission to reveal or redistribute private content.
References
Featured AI API providers
Explore representative providers across top-up value, official price discounts, and traffic.